Overview
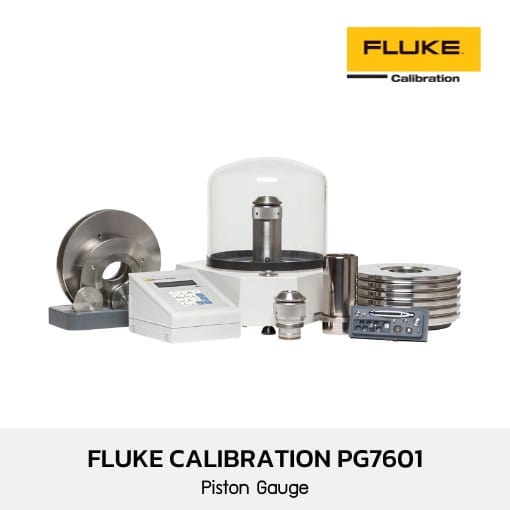
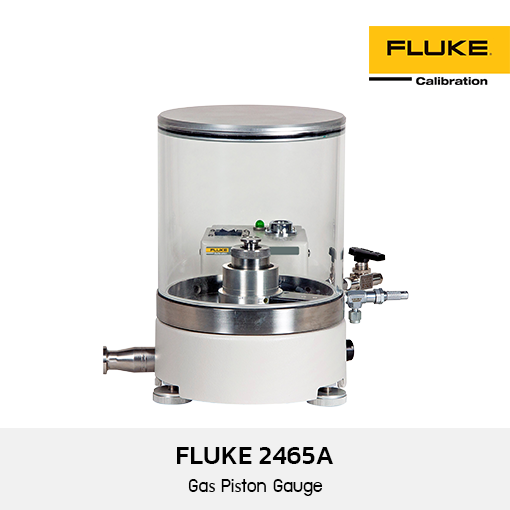
PG7000 Piston Gauge line features reference level pressure standards offering a unified solution from vacuum to 500 MPa
- State-of-the-art primary pressure standards for the lowest uncertainty levels
- Unified solution from vacuum to 500 MPa
- Outputs fully validated reference pressures in real time
- Intuitive local operator interface
- Manual, semi-automated and fully automated configurations
The PG7000 Series calibration standards are based on the fundamental principle of mass loaded onto a piston to apply a known force to a known effective area
Integrated piston-cylinder modules
Each PG7000 piston-cylinder is an integrated metrological assembly that includes the critical piston-cylinder mounting components. All of the mechanical parts that affect piston cylinder metrology are associated with the individual piston-cylinder, rather than being common parts of the piston gauge platform, enabling the user to:
- Change ranges (piston-cylinders) in seconds, without using tools.
- Handle and interchange piston-cylinders without exposing critical surfaces to contamination.
- Protect the piston-cylinder from damage due to accidental shock or impact when handling.
- Improve measurement reproducibility by avoiding frequent assembly/disassembly of mounting components.
- Improve piston-cylinder mounting design by allowing each mounting system to be optimized for a piston-cylinder size and range.
Mass loading concentricity
The number of independent parts between the piston and mass load has been reduced to two—the piston cap and the mass loading bell. The piston head is effectively made part of the piston by machining it after installation concentrically to the piston within ± 20 microns.
Integrated electronics, software and remote interfacing
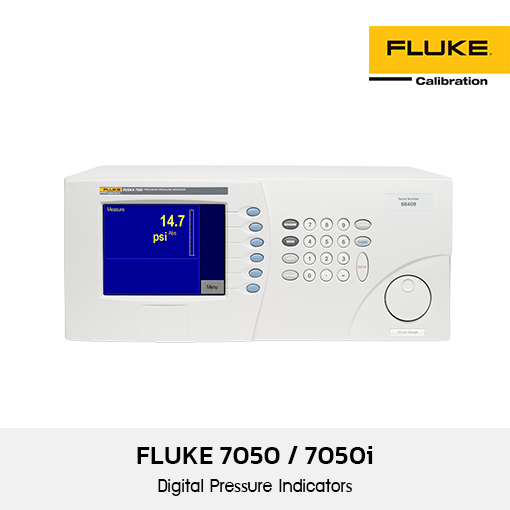
The electronics for monitoring all ambient and instrument conditions and functions are integrated into the PG7000 platform. RS-232 and IEEE 488 interfaces are included for remote communication. The system power supplies are also contained in the terminal to remove their heat source from the PG platform. For local operation, the user interacts with the PG7000 through a keypad and alphanumeric display on a compact terminal, allowing rapid, intuitive operation.
On-board measurement of operating conditions
PG7000 includes integrated on-board measurement of all the ambient and operating conditions needed to calculate pressure within tolerance, including relative humidity, barometric pressure, ambient temperature, piston-cylinder temperature, and reference vacuum. Individual measurements can be observed in real time, both locally through the PG terminal and remotely over the RS-232 or IEEE 488 interface. Verification and recalibration of the on-board sensors is supported by embedded software.
Monitoring piston behavior
PG7000 measures and provides real time indication of piston position, drop rate, rotation rate, and rotation decelaration. Piston position is measured on the LVDT principle, with a ring on the inside of the mass loading bell acting as the armature. Rotation rate is measured optically by a sensor in the mounting post, which detects the movement of a notched ring on the inside of the mass loading bell. Both measurement systems are completely non-interfering, with no influence on the free movement of the piston in any axis.
Ready/not ready indication
The “ready/not ready” indication provides the operator with a clear “go/no go” indication of when an in-tolerance measurement can be made. It is based on testing for a variety of operating conditions, including piston position, piston fall rate, piston rotation rate, piston rotation deceleration, piston temperature rate of change and vacuum reference (when applicable). A ready condition is indicated when all conditions fall within specific limits. The limits for the various ready/not ready criteria can be customized by the user if desired.
Piston near-float detection
One of the most tedious aspects of operating a conventional piston gauge is adjusting pressure to float the piston. The piston lifts suddenly and without warning at the exact pressure corresponding to the mass loaded on the piston. Finding that point without overshooting requires slow and cautious pressure control. PG7000 makes it easier to float the piston with a piston preloading system, which provides advance warning that the pressure is near the point where the piston will leave end of stroke. The preloading system only affects the piston when it is at end of stroke; it does not interfere with the free movement of the piston when it is floating.
Intelligent piston rotation
PG7000 is the first commercially available piston gauge to provide monitoring of rotation rate and decay in rotation rate. These measurements are used to assure that pressure readings are always made within limits. This relieves the operator of rotation rate monitoring responsibility and replaces subjective operator judgment with objective measurement.
Storage and shipping containers
The PG7000 piston gauge platform and mass set are packaged in heavy duty, weather proof, molded transit cases with custom inserts to provide optimum protection. PG7000 piston-cylinders modules are delivered in compact, virtually indestructible PVC bullet cases.
Advanced pressure generation and control components
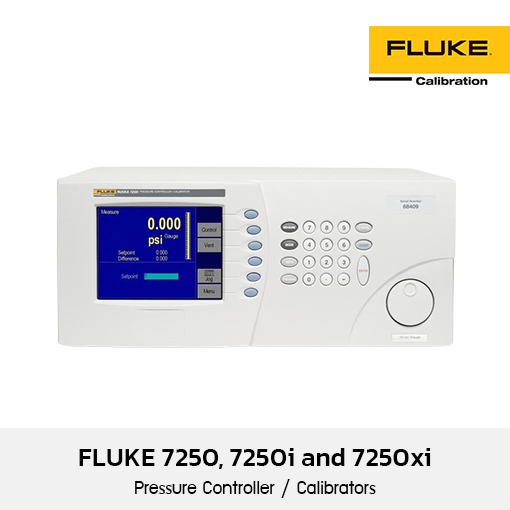
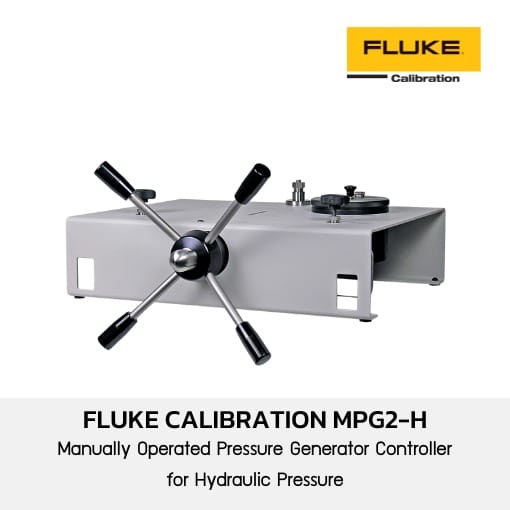
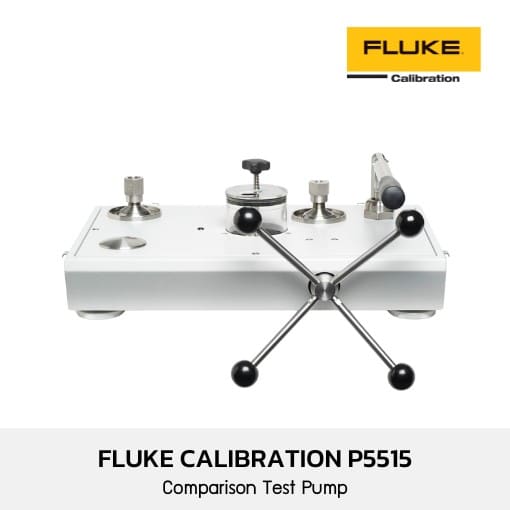
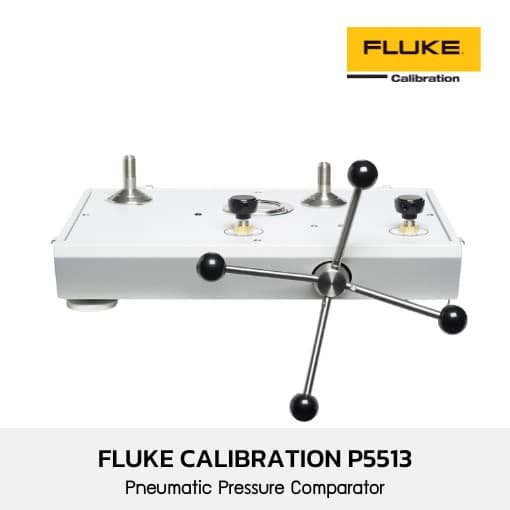
All PG7000 pressure accessories are designed to increase the efficiency and ergonomics of piston gauge operation. These include manual, semi-automated and fully automated options to quickly and easily generate pressure and float the piston at the set point.
COMPASS® for Pressure calibration assistance software
COMPASS software sets up records for the units under test (UUT), defines and associates test procedures with UUTs, runs tests, acquires reference and test data, produces standard and custom calibration reports. All reference, UUT and test data is collected and stored in a database and standard delimited files. COMPASS can manage any kind of test from manual operator control and logging of test data to fully automated, unattended test execution.
A unified solution from vacuum to 500 MPa
The PG7000 line of piston gauges covers the complete range of pressure from very low absolute and differential in gas, up to 500 MPa (75 000 psi) in oil. While several piston gauge platforms and specialized accessories may be needed to cover different ranges and media, a consistent user interface and operational principles are maintained throughout the line. In most cases, complete gas and oil calibration capability can be achieved with just two PG platforms, four piston-cylinder modules and one mass set. Maintaining consistency from system to system makes them easier to learn and to use. Maintenance costs are reduced by minimizing the number of metrological elements to be supported.
PG7000 Piston Cylinder Modules
The piston-cylinder defines effective area and is the piston gauge’s principal metrological element. The piston-cylinder’s intrinsic characteristics and how it is mounted and exploited are the keys to piston gauge performance.
PG7000 piston-cylinders are manufactured by Fluke Calibration using proprietary production techniques that result in pistons and cylinders whose typical shape is within less than 0.2 micron from ideal geometry.
Pure gas operated piston-cylinders use large diameters and very small annular gaps to minimize gas species and operating mode effects and to maximize piston float times. For example, the typical annular gap of a 35 mm gas operated piston-cylinder is less than 1 micron. Oil operated piston-cylinders use small diameters to reduce the quantity of mass needed to cover the typical high pressure range.
All Type 7000 pistons and cylinders are made of tungsten carbide. Each PG7000 piston-cylinder is a complete, integrated metrological assembly that includes the critical piston-cylinder mounting components for improved metrological performance. All Type 7000 piston-cylinders use free deformation mounting systems in which the cylinder is allowed to deform under the influence of applied pressure, without O-rings or seals along the cylinder length. For higher pressure gas assemblies, a new mounting system, negative free deformation, applies the measured pressure uniformly along the full length of the cylinder. This reduces deformation under pressure, so piston drop rates remain low even at high operating pressures, while avoiding the unpredictable strain points of conventional reentrant designs.
PG7000 Mass Sets
Masses loaded on the piston are accelerated by gravity to apply a known force on the piston against which the defined pressure is balanced.
A PG7000 manual mass set is made up of main masses of 10 kg or 5 kg, fractionary masses in 5-2-2-1 progression from 0.5 kg to 0.1 kg, and a trim mass set with masses from 50 kg to 0.01 g. Any desired mass value within the mass set range can be loaded to 0.01 g. All main and fractionary masses are machined from solid, nonmagnetic stainless steel and adjusted to their nominal values in the mass without cavities or trimming hardware which can reduce mass stability over time. Individual masses are comfortable to handle, with angled lifting surfaces on the edge of each mass and special mass trays that assist in orderly loading and unloading.
A PG7000 automated mass set is composed of main mass discs of 6.2 or 10 kg each and a set of tubular masses in binary progression from 0.1 to 3.2 or 6.4 kg.
A pneumatically driven automated mass handling accessory (AMH) loads requested mass values in increments of 0.1 kg. The AMH and mass set are easily removed to access the piston-cylinder module when necessary.

